No bake lemon raspberry bars are the treat you didn’t know you needed—until the thermostat soars and your oven becomes the enemy. In this post, we’ll walk through how to make these creamy, tangy, vegan bars that cool you down with every bite. Whether you’re dairy-free, gluten-free, or just craving a wholesome summer dessert, this recipe checks every box.
We’ll start with the story behind this sunny snack, dig into the crust and filling basics, cover the nutrition, and answer your burning questions like how to keep them from sticking and why they sometimes turn runny. Along the way, I’ll link you to other no-bake favorites from NoBakeTreats.com, so your oven stays off and your dessert table stays stacked.
Let’s dive into the first sweet and sticky part—where it all began.
In this post
No Bake Lemon Raspberry Bars: A Refreshing, Creamy Vegan Treat to Beat the Heat
Ingredients
Method
- Line an 8×8 pan with parchment paper and press the date-almond crust mixture into the base.
- Blend soaked cashews, coconut cream, lemon juice/zest, maple syrup, and vanilla until smooth. Pour over crust.
- Freeze for 2–3 hours until firm.
- Mash raspberries with chia seeds and optional maple syrup. Let thicken for 10 mins.
- Spread raspberry mixture over lemon layer. Freeze 1 more hour.
- Let thaw 10 mins before slicing and serving. Store in fridge or freezer.
Nutrition
Notes
Tried this recipe?
Let us know how it was!Why No Bake Lemon Raspberry Bars Are the Ultimate Summer Dessert
Creamy, Tangy, and Naturally Sweet
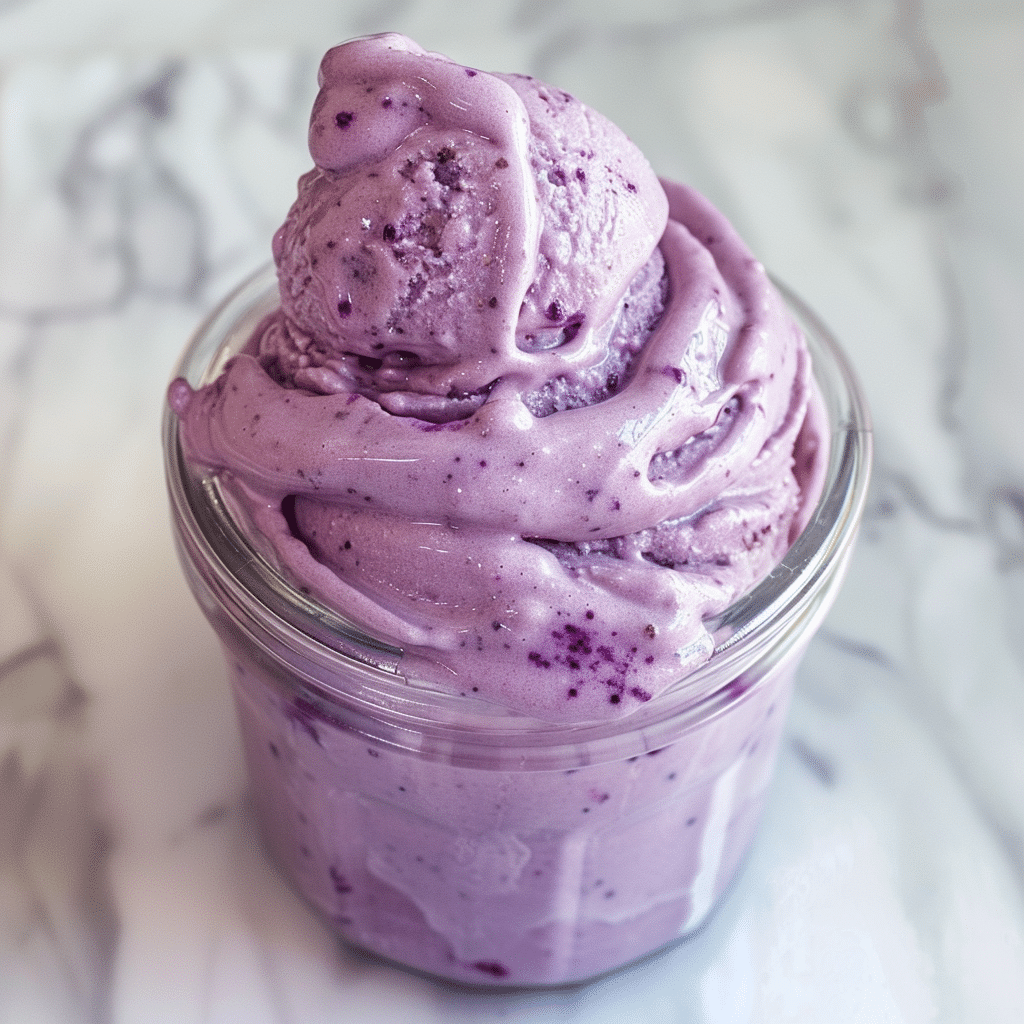
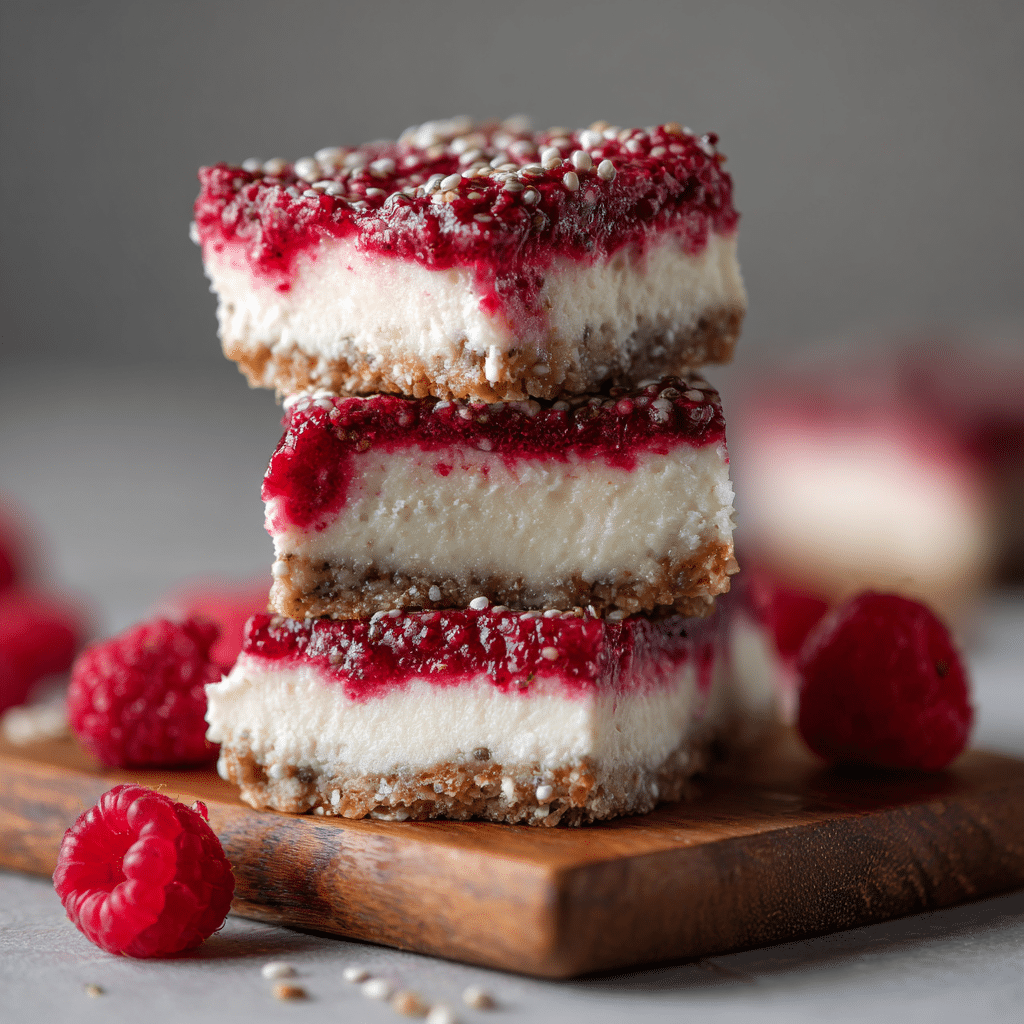
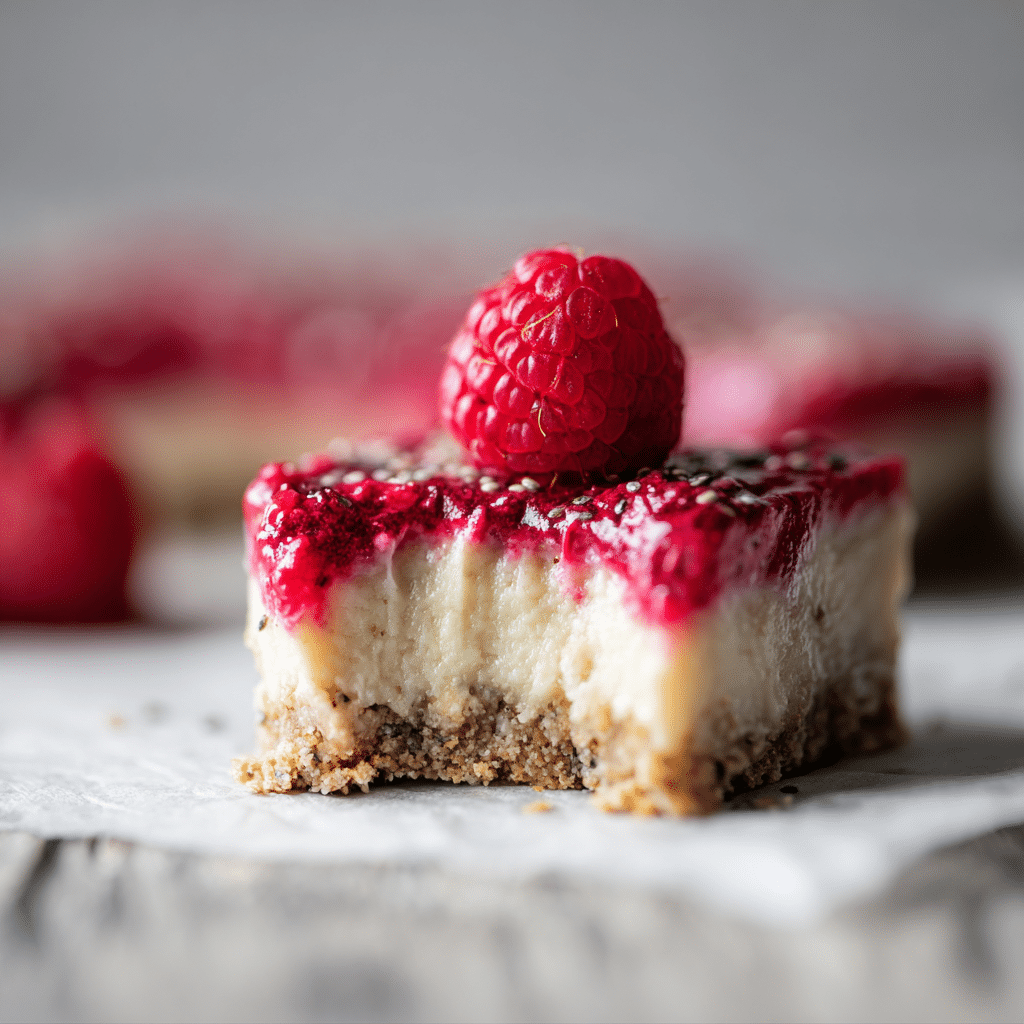
What sets no bake lemon raspberry bars apart is the combo of flavors and textures. The lemon cashew filling is silky smooth and perfectly tart. It’s naturally sweetened with maple syrup and balanced by the vibrant raspberry chia topping. Every bite offers a cool, creamy texture with a chewy crust and a punch of berry brightness.
These No bake lemon raspberry bars are more than a dessert—they’re a break from the heat, a way to cool down, and a moment of joy you can eat. Just like my Lazy Day Lemon Cream Pie Bars, they hit the spot on hot days.
No Oven Needed, Just a Blender and a Chill
The crust starts with dates and nuts, blended until sticky and rich. No baking means less mess and no added heat. The cashew filling takes just a quick soak and a blend, then chills into a dreamy, cheesecake-like texture. It’s easy, satisfying, and perfect for anyone who wants dessert without the fuss.
I always keep chia seeds on hand because they’re great in more than just pudding. They turn mashed raspberries into a jammy topping that sets beautifully.
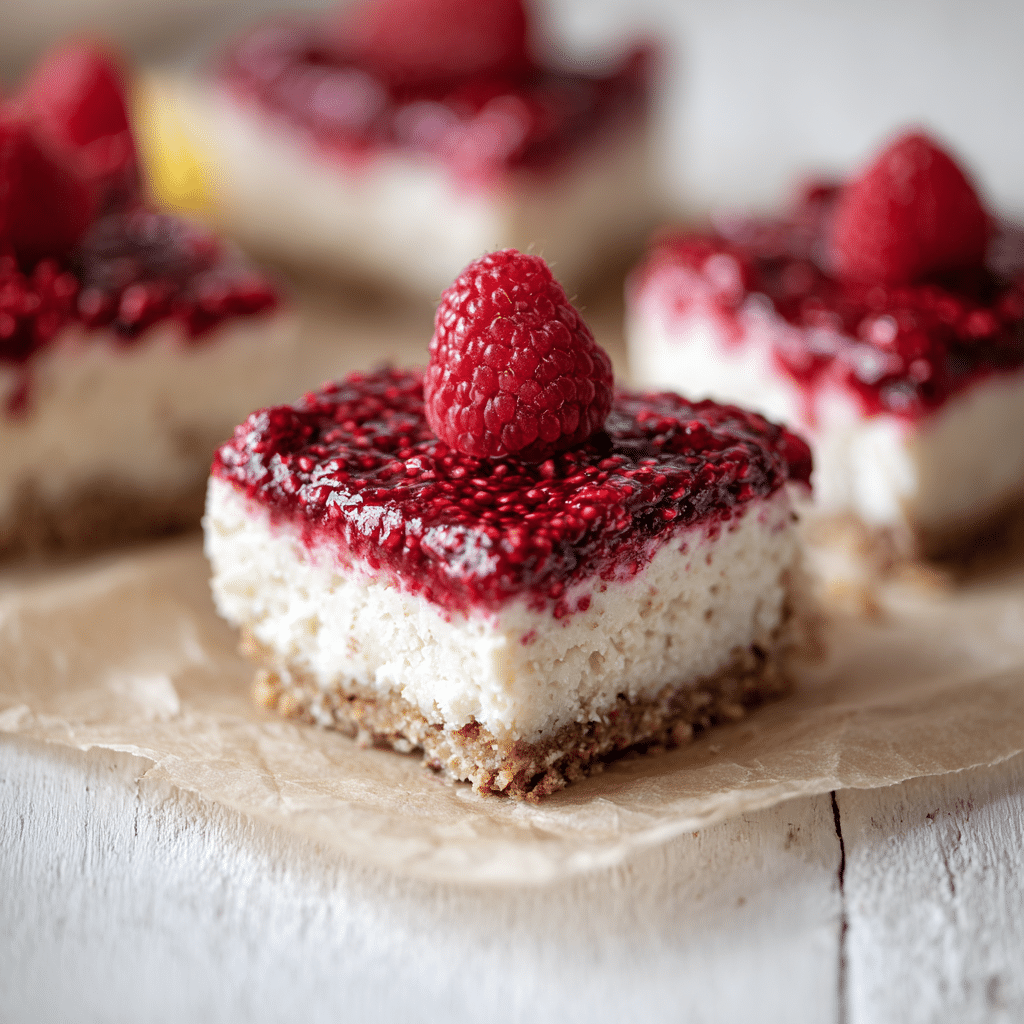
Making No Bake Lemon Raspberry Bars the Easy Way
Simple Ingredients You Can Feel Good About
These no bake lemon raspberry bars come together with clean, plant-based ingredients that don’t require any baking, stirring over a hot stove, or hard-to-find items. Everything is gluten-free, dairy-free, and refined sugar-free—but you’d never guess by how creamy and indulgent they taste.
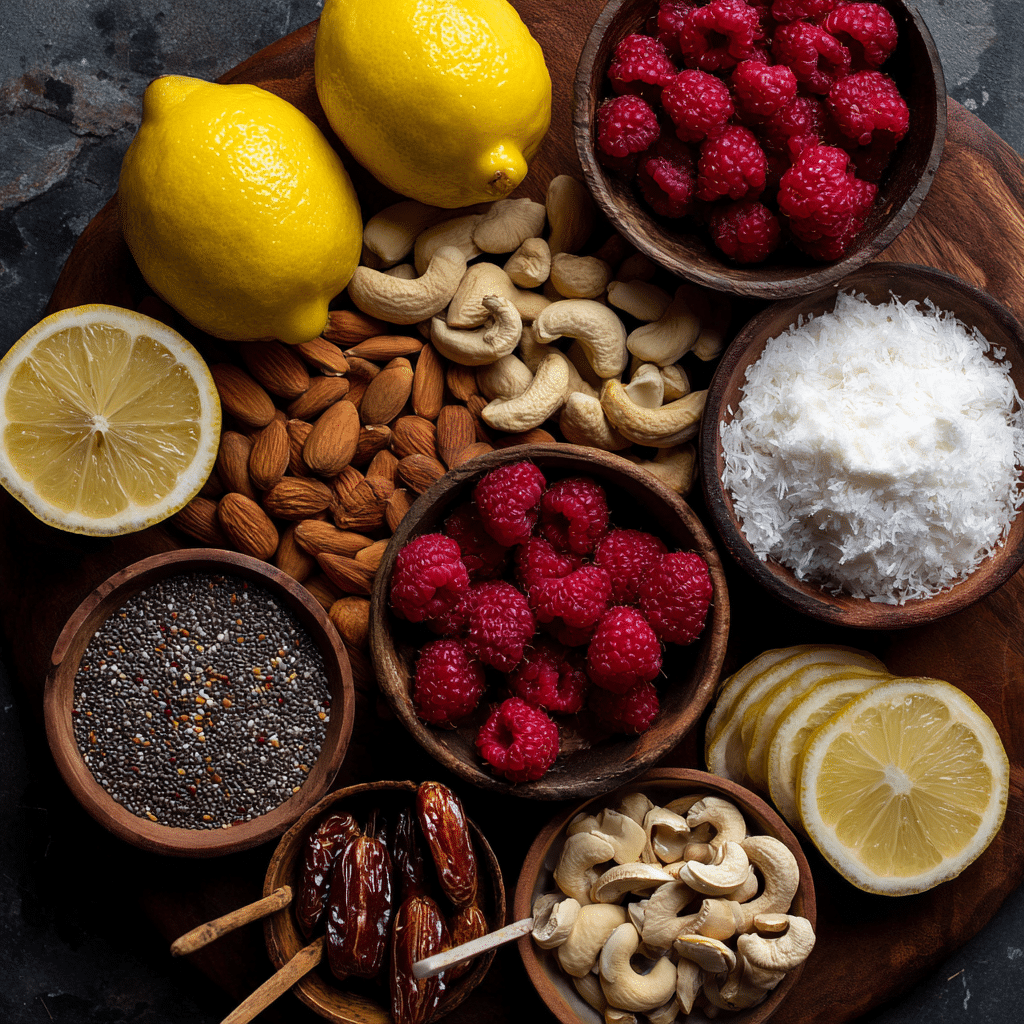
Here’s what you’ll need on hand:
Crust Ingredients:
- 1 cup Medjool dates (pitted and soft)
- 1 cup raw almonds (or walnuts)
- Pinch of salt
- Zest of 1 lemon (optional, for extra zing)
Lemon Layer Ingredients:
- 1½ cups raw cashews (soaked 2 hours in hot water, drained)
- ½ cup full-fat coconut cream (scooped from a chilled can)
- ¼ cup fresh lemon juice
- 2 tablespoons lemon zest
- ¼ cup pure maple syrup
- 1 teaspoon vanilla extract
Raspberry Chia Topping:
- 1½ cups fresh or thawed frozen raspberries
- 1½ tablespoons chia seeds
- 1 tablespoon maple syrup (optional, based on berry sweetness)
All of these can be found at most grocery stores or natural food markets. You may already have them in your pantry if you’ve made other no-bake recipes like my No bake lemon cheesecake bars.
Step-by-Step: From Crust to Creamy Raspberry Top
Step 1: Blend the Crust
In a food processor, combine the dates, almonds, lemon zest (if using), and a pinch of salt. Pulse until you get a crumbly, sticky texture that holds together when pinched. Press the crust mixture firmly into a parchment-lined 8×8-inch pan. Use the back of a spoon or your hands to pack it evenly.
Step 2: Make the Creamy Lemon Filling
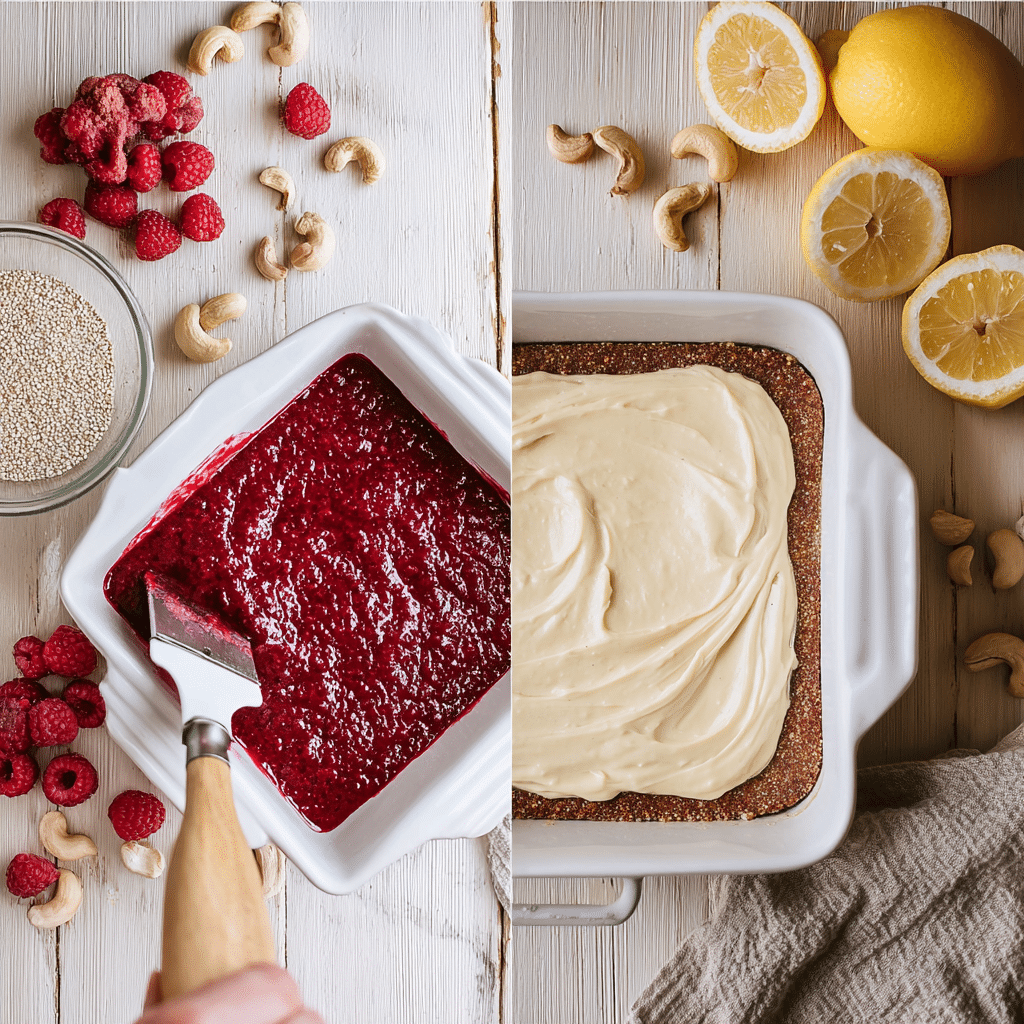
Add the soaked cashews, coconut cream, lemon juice, lemon zest, maple syrup, and vanilla to a high-speed blender. Blend until smooth and creamy. Scrape down the sides and blend again to make sure it’s completely silky. Pour the lemon filling over the crust and smooth out the surface with a spatula.
Step 3: Chill the First Layer
Place the pan in the freezer for 2–3 hours, or until the lemon layer is firm to the touch. This makes it easier to spread the topping later without mixing the layers.
Step 4: Mix the Raspberry Topping
In a small bowl, mash the raspberries with a fork. Stir in chia seeds and maple syrup (if using), and let the mixture sit for about 10 minutes. The chia seeds will thicken the mixture into a jam-like consistency. This technique is great in my no bake lemon raspberry bars for an added fiber and texture boost.
Step 5: Layer It Up and Freeze Again
Once the lemon layer is firm, gently spread the raspberry chia jam over the top. Return the pan to the freezer for 1 more hour, or until completely set.
Step 6: Slice, Serve, and Store
Let these no bake lemon raspberry bars sit at room temperature for about 10–15 minutes before slicing for a softer, creamier texture. Store leftovers in an airtight container—keep them in the fridge for up to 5 days or freeze them for up to 3 weeks.
These no bake lemon raspberry bars are best served cold but not frozen solid. They’re perfect for picnics, potlucks, or anytime you’re craving a treat that refreshes without overheating your kitchen. Just like my No Bake Cookies & Bars, they bring sunshine to every bite—without ever turning on the oven.
How to Keep No Bake Lemon Raspberry Bars Creamy and Perfect
Avoid Runny Bars and Sticking Woes
No bake lemon raspberry bars should be creamy, not soupy. If your bars turn out too soft or fall apart, don’t worry—it’s an easy fix. The most common culprit? Not chilling long enough. These bars need solid freezer time to firm up. After pouring the lemon filling and later the raspberry chia topping, make sure to freeze each layer until fully set.
Cashews also need to be soaked and drained properly. If they’re not soft enough, they won’t blend as smoothly, which can affect texture. Always use a high-powered blender for that luscious, velvety finish you get in recipes like my No bake cottage cheese cheesecake. Another tip: don’t skip the coconut cream. It adds thickness and richness that water alone can’t deliver.
As for sticking to the pan—line your dish with parchment paper before pressing in the crust. Once frozen, you can lift the entire block out and slice clean bars without the mess. For easy removal, I also recommend using a springform pan.
Storage Tips for Freshness and Creaminess
Once sliced, you can store your no bake lemon raspberry bars in an airtight container in the fridge for a soft, creamy texture. They’ll last up to five days that way. If you prefer a firmer bite (especially in summer), keep them in the freezer. They’ll stay good for up to three weeks—just be sure to let them thaw for 10–15 minutes before serving so they’re not too icy.
Here’s a quick reference table for storage and texture:
| Storage Method | Shelf Life | Texture |
|---|---|---|
| Fridge | 4–5 days | Soft and creamy |
| Freezer | Up to 3 weeks | Firm and sliceable |
Keep a batch on hand to satisfy your sweet tooth anytime. These bars are also great to prep ahead for gatherings—like my 3 ingredient no bake cottage cheese cheesecake, they’re always a hit and never leave leftovers.
FAQs About No Bake Lemon Raspberry Bars
How do you make lemon bars not stick to the pan?
To prevent sticking, always line your pan with parchment paper—leave extra hanging over the sides so you can lift the whole block out easily after freezing. A springform pan also works great for these bars. Press the crust firmly and make sure each layer is fully chilled before slicing.
Why did my lemon bars turn out runny?
If your lemon layer isn’t firm, it usually means it wasn’t blended long enough or chilled long enough. Cashews must be fully soaked and drained before blending, and the filling needs at least 3 hours in the freezer to fully set. Also, avoid using light coconut milk—go for full-fat coconut cream for the right consistency.
Do lemon bars need to be refrigerated?
Yes, these no bake lemon raspberry bars must be stored in the fridge or freezer. They’re made with fresh fruit and plant-based cream, so leaving them at room temperature too long can affect their texture. Keep them cold until ready to serve, and let them thaw slightly for that ideal creamy texture.
Conclusion: No Bake Lemon Raspberry Bars for the Win
If you’ve been searching for the perfect summer dessert—something cool, creamy, tart, and sweet—these no bake lemon raspberry bars are it. They’re easy to make, fun to customize, and absolutely refreshing after a hot day. I’ve made dozens of no-bake treats, but these bars stand out for their balance of flavor, their nourishing ingredients, and the joy they bring to any table.
Whether you’re hanging out in a makeshift upstairs apartment during a heatwave like I was, or just want to avoid using your oven, this recipe offers relief and reward in every bite. I hope you make them, share them, and enjoy them as much as I do.
Craving sweet treats without the heat? Follow No Bake Treats on Facebook for quick, cool, and crowd-pleasing desserts made with zero oven time.
Explore the world of no-bake goodness on No Bake Treats on Pinterest—your go-to spot for effortless desserts and chill snack ideas!
