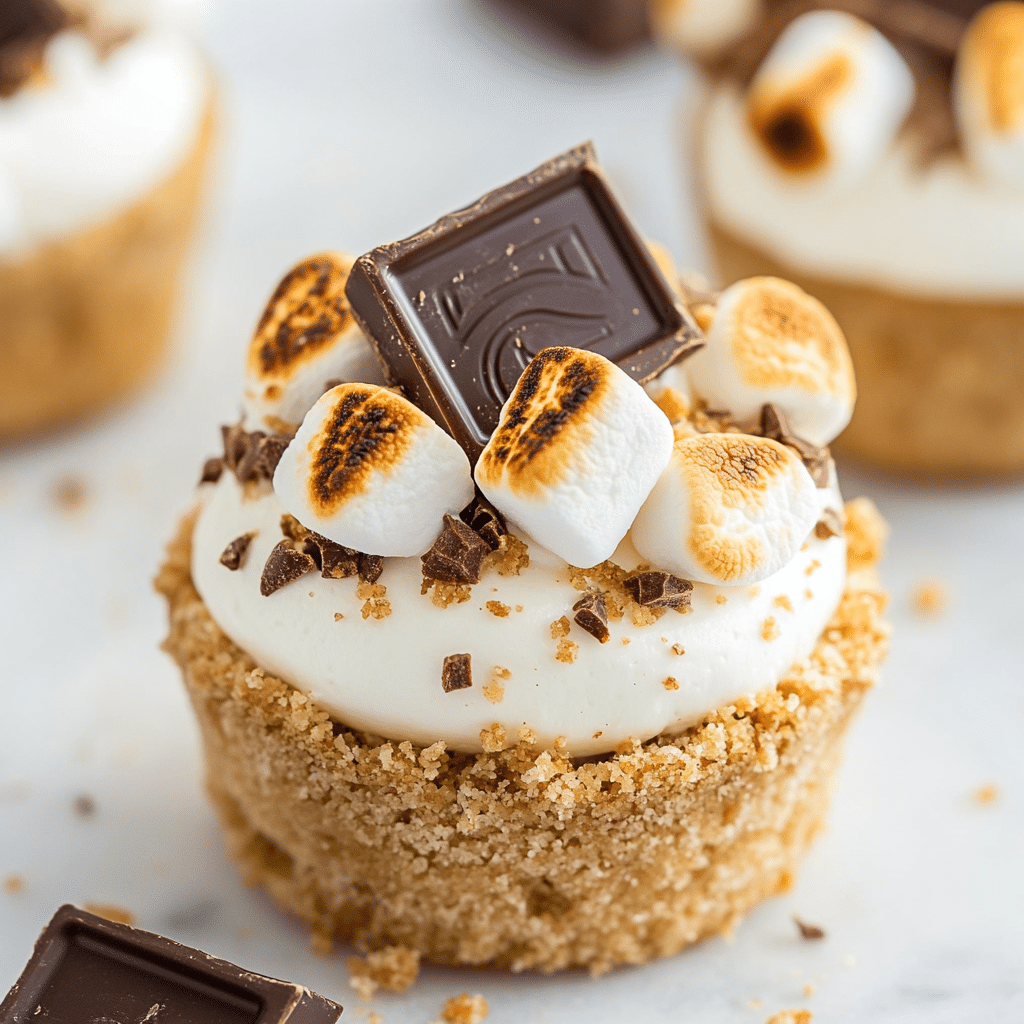
No bake S’mores cheesecake cups are everything you love about summer treats—gooey, creamy, chocolatey—without the need to turn on the oven. These chilled dessert cups blend graham cracker crusts, marshmallow cheesecake filling, and classic s’mores garnishes for a decadent, nostalgic bite. Whether you’re planning a picnic, craving a late-night indulgence, or just love easy desserts that impress, this recipe delivers on all fronts. In this guide, you’ll get step-by-step instructions, learn how to avoid common no-bake mistakes, and discover the best tips for firm, flavorful results. Let’s dive into your new favorite no-bake dessert!
In this post
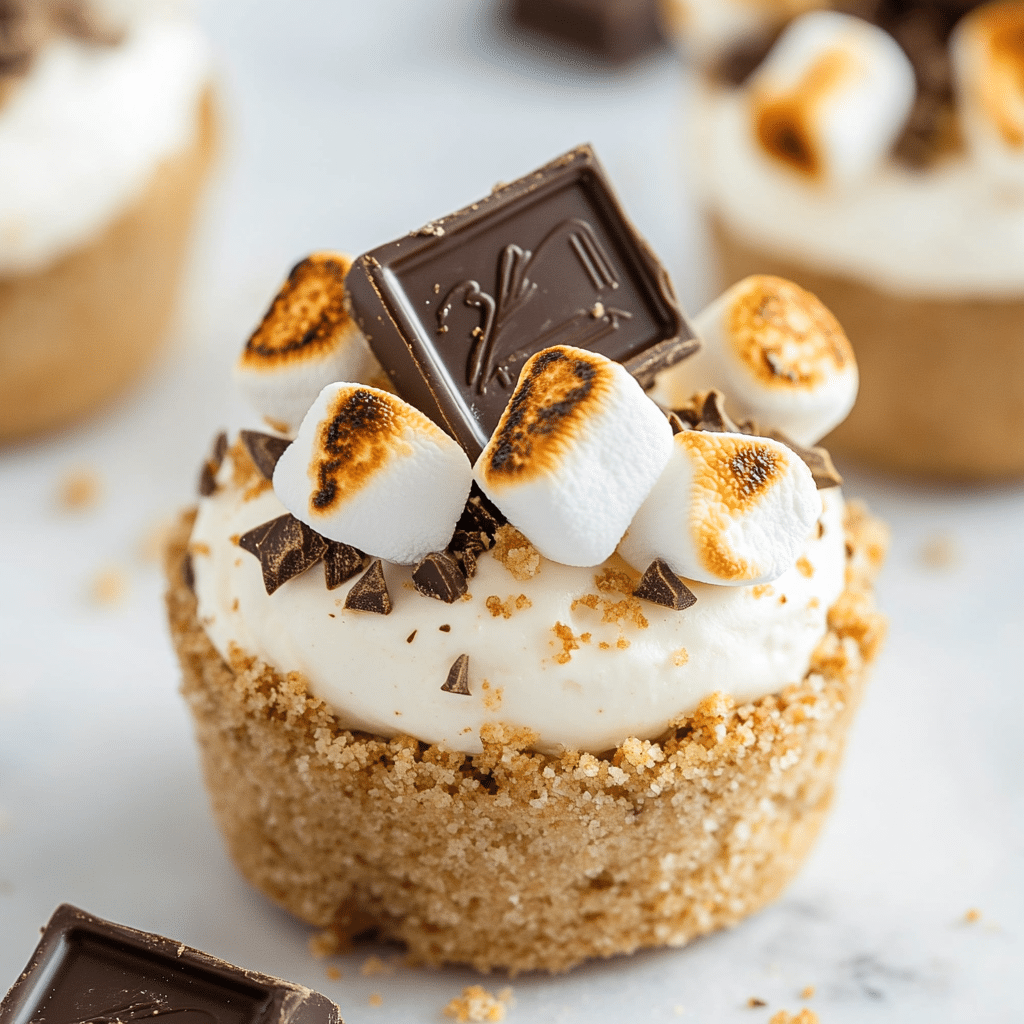
No Bake S’mores Cheesecake Cups You’ll Crave Again and Again
Ingredients
Method
- In a bowl, mix graham crumbs, sugar, and melted butter.
- Divide into a 12-cup muffin pan, pressing into cup shapes.
- Freeze for 1 hour to set the crusts.
- Beat cream cheese until smooth. Add marshmallow fluff and beat again.
- In another bowl, whip cream and powdered sugar to stiff peaks.
- Fold whipped cream into the marshmallow-cream cheese mixture.
- Remove graham crusts from freezer and pop them out with a knife.
- Pipe cheesecake filling into each crust.
- Top with mini marshmallows, chocolate, and graham crumbs. Toast marshmallows if desired.
- Refrigerate until ready to serve.
Nutrition
Notes
Toast marshmallows just before serving for best flavor.
Tried this recipe?
Let us know how it was!Why I Love No Bake S’mores Cheesecake Cups
My love for chilled sweets began in my grandmother’s Asheville kitchen, where we made cereal clusters and chocolate bars, no oven required. Fast forward a few decades, and I’m still head over heels for treats like these no bake S’mores cheesecake cups. They bring together crunchy graham cracker crusts, fluffy marshmallow cheesecake, and fun garnishes like Hershey’s bars and toasted minis. No bake desserts are pure joy, and these cups are a perfect example. Plus, they’re ideal for summer when no one wants to crank up the oven.
If you’ve tried my No Bake S’mores Cheesecake Cup With Cottage Cheese, you’ll recognize the playful layers and easy technique. What makes these cheesecake cups stand out? It’s the crust-to-filling ratio, the goopy fluff folded with whipped cream, and the garnishes that take them from sweet to sensational.
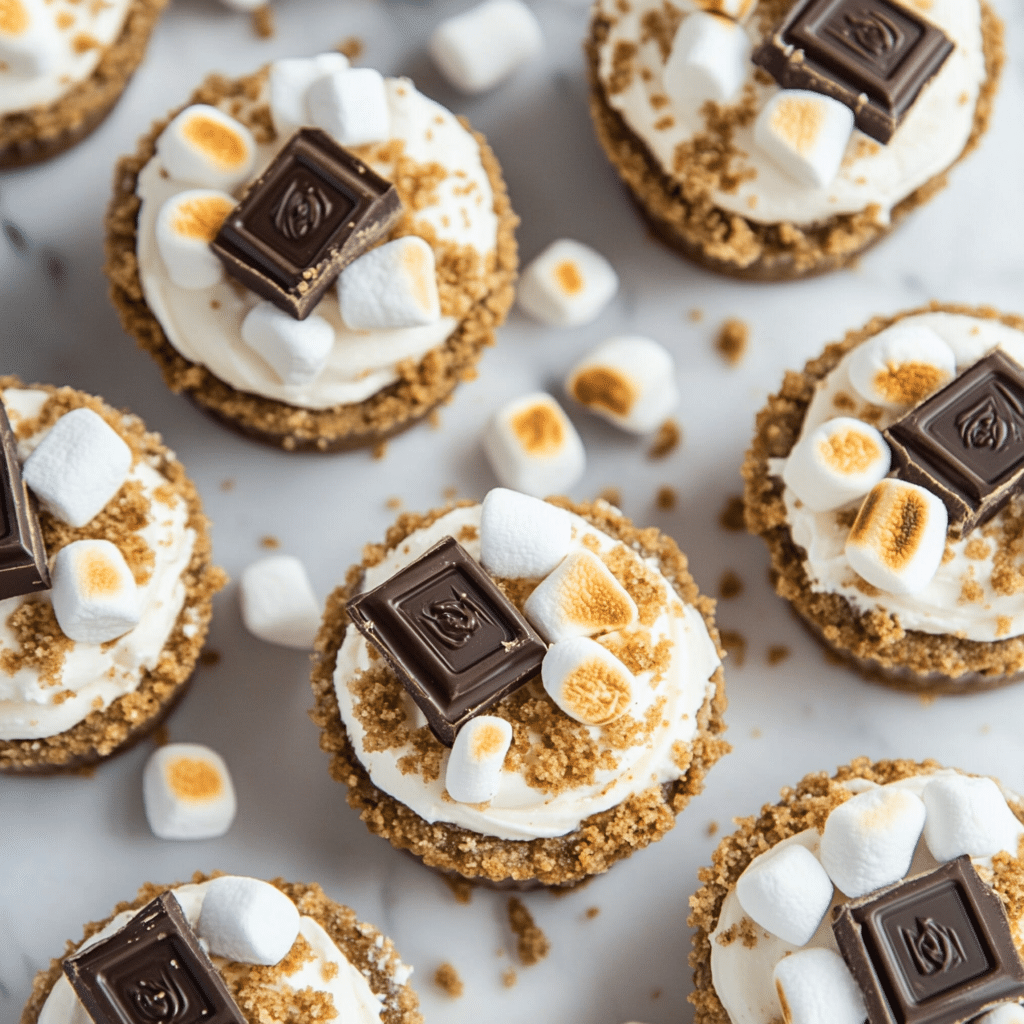
Step-by-Step: How to Make No Bake S’mores Cheesecake Cups
If you’re ready to dive into the sweet, creamy world of no bake S’mores cheesecake cups, this is the part you’ve been waiting for. These are rich, dreamy, and ridiculously easy to prepare. No oven, no water bath, no stress—just layers of flavor, a chilled crust, and a soft cheesecake swirl that hits every nostalgic note.
Let’s walk through the full recipe together.
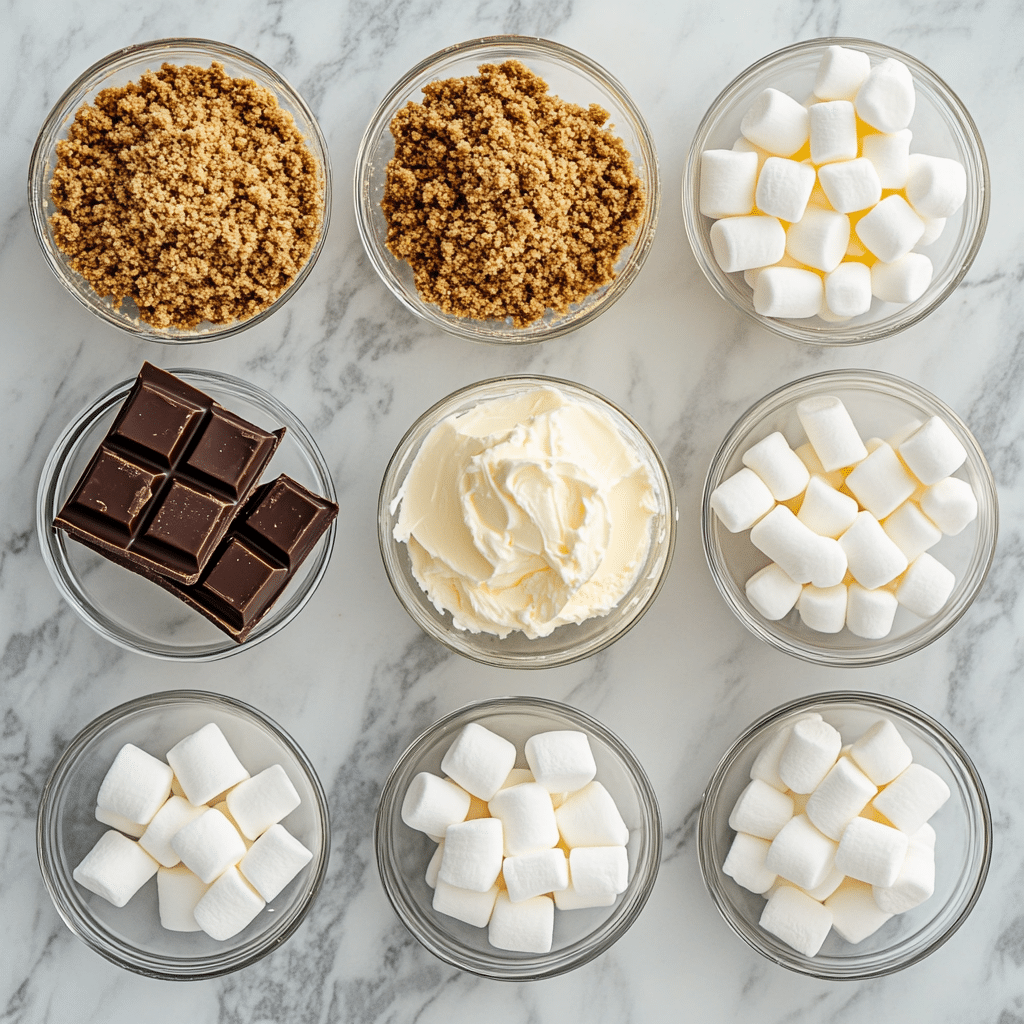
Ingredients you will need
For the Graham Cracker Crust:
- 2 cups (226g) graham cracker crumbs
- 3 tablespoons sugar
- ½ cup (113g) melted butter
For the Cheesecake Filling:
- 8 oz (226g) cream cheese, room temperature
- 7 oz marshmallow fluff
- 1 cup (236ml) heavy whipping cream
- 2 tablespoons powdered sugar
For Garnish:
- Mini marshmallows
- Mini Hershey’s chocolate bars
- Extra graham cracker crumbs
Instructions For No Bake S’mores Cheesecake Cups
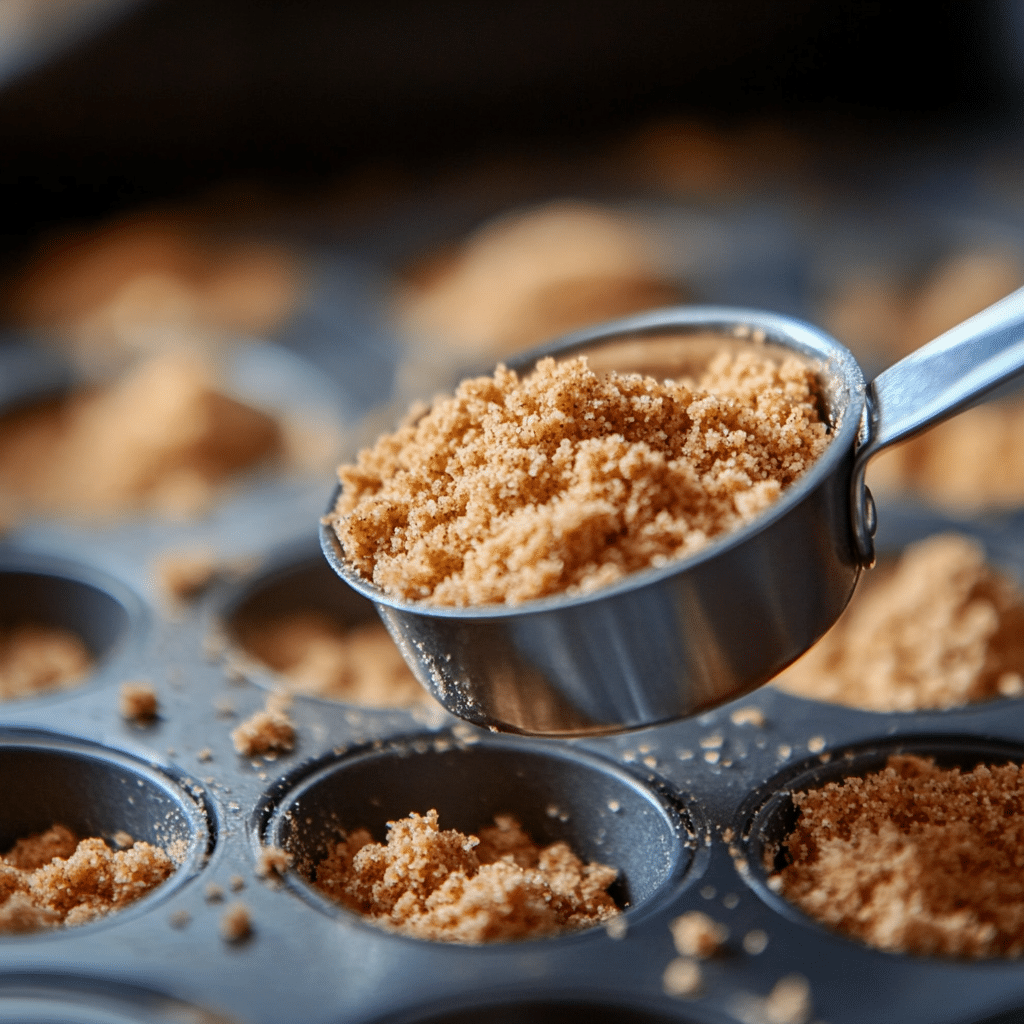
- Make the Crust: In a mixing bowl, combine graham cracker crumbs, sugar, and melted butter. Stir until the mixture resembles wet sand.
- Form the Cups: Divide the mixture evenly into a 12-cup muffin pan, using about 2 tablespoons per cup. Press the crumbs down and up the sides with a 1/3 measuring cup to create deep crust cups.
- Freeze the Base: Place the pan in the freezer for one hour. This helps the graham cracker cups set firm and hold their shape once filled.
- Make the Filling: In another bowl, beat the cream cheese until smooth (about 1–2 minutes). Add marshmallow fluff and mix again until creamy.
- Whip the Cream: In a clean bowl, beat the heavy whipping cream and powdered sugar until stiff peaks form.
- Combine: Gently fold the whipped cream into the marshmallow-cream cheese mixture using a spatula. This gives the cheesecake filling a light, fluffy texture.
- Remove Crusts: Take the muffin pan out of the freezer and carefully pop out the graham cracker cups using a pointy knife. Place them on a serving tray.
- Pipe the Cheesecake: Transfer the cheesecake mixture into a piping bag fitted with a large round tip. Pipe swirls into each graham cracker cup.
- Add Garnishes: Top each cup with mini marshmallows, a square of chocolate, and extra graham crumbs. If you have a kitchen torch, toast the marshmallows for that signature campfire finish.
- Chill Until Serving: Keep the no bake S’mores cheesecake cups in the fridge until you’re ready to serve. This helps maintain structure and flavor.
These bite-sized beauties are a hit at parties and family dinners alike. The graham crust stays firm when chilled, and the filling remains creamy without being runny. For more no-bake recipes , check out my 3 ingredient no bake cottage cheese cheesecake and No Bake Mango Cheesecake Cups. They’re just as easy—and just as crowd-pleasing.
Fixing Mistakes with No Bake S’mores Cheesecake Cups
Even with a simple recipe like no bake S’mores cheesecake cups, things can go sideways. Maybe your filling is too soft. Or your crust falls apart when you pick it up. Don’t worry—it’s fixable. Let’s break down what might go wrong and how to get perfect results every time.
Why Your Cheesecake Isn’t Firming Up
A common issue with no bake S’mores cheesecake cups is a soft or goopy filling that doesn’t hold its shape. Here’s what could be happening:
- Under-whipped cream: If your whipped cream hasn’t reached stiff peaks, your cheesecake won’t set properly. You want peaks that stand tall when you lift the beater.
- Warm cream cheese or fluff: If your cream cheese or marshmallow fluff is too warm, the mixture won’t hold structure. Always start with room temperature cream cheese—but not overly soft.
- Not enough chill time: These cups need time in the fridge. Chill at least 4 hours, or ideally overnight. This helps the filling firm up and set nicely in the crusts.
If you love chilled treats that hold up well, you might also like my No-Bake Upside-Down Mango Cheesecake—they follow a similar method.
Preventing a Crumbly or Soggy Crust
The graham cracker base is quick to make, but if it’s too loose or soggy, the whole dessert can feel off. Here’s how to avoid that:
- Press firmly: Really press the crumbs into the muffin pan. Use a measuring cup to press them up the sides so the cup holds together.
- Use the freezer: Don’t skip the chilling step. Freezing the crusts for a full hour gives them the strength they need.
- Serve cold: These cups aren’t meant to sit out. Keep them in the fridge right up until serving. That way, the crust stays solid and the cheesecake remains firm.
If you’re looking for other recipes with sturdy crusts and creamy centers like no bake S’mores cheesecake cups, try my No Bake Cheesecake . They use the same structure—with just a twist on flavor.
Decorating and Serving No Bake S’mores Cheesecake Cups
How to make your cups look irresistible and hold their shape
One of the best parts about no bake S’mores cheesecake cups? The garnishes. They’re where the fun happens. The creamy filling, toasty marshmallows, and classic Hershey’s squares all come together to create a show-stopping dessert that’s as pretty as it is tasty. Here’s how to finish them off with flair—and how to serve them so they stay intact.
Garnishing the Right Way
Once you’ve piped your fluffy marshmallow cheesecake filling into each crust, it’s time to add those signature toppings. Here’s what we love:
- Mini marshmallows: Scatter a few on each cup. For best results, add these just before serving if you’re skipping the torch.
- Torching tip: Use a small kitchen torch to lightly toast the tops. It gives that golden-brown s’mores look and a warm flavor boost. Just go easy—lightly browned, not blackened.
- Chocolate squares: Break mini Hershey’s bars into pieces and press one into each swirl.
- Extra graham crumbs: Sprinkle on top for texture and visual contrast.
Want even more texture? Try drizzling melted chocolate or adding a single chocolate chip on top. These small touches take your presentation to the next level.
Serving and Storage Tips
To keep your no bake S’mores cheesecake cups at their best:
- Chill until serving: These cups should be stored in the fridge until the moment you’re ready to plate them. The filling stays firm, and the crust stays crisp.
- Use a tray or cupcake liner: If you’re transporting them, a flat tray works best. For casual settings or picnics, slip each one into a cupcake liner to make handling easier.
- Leftovers: Keep leftovers covered in the fridge for up to 3 days. The crust will soften slightly over time but still holds up well.
These no bake S’mores cheesecake cups make an ideal prep-ahead dessert. They’re party-ready, kid-friendly, and always get people asking for seconds. For more shareable no bake treats, take a look at my No Bake Treats.
FAQs: No Bake S’mores Cheesecake Cups
How to make store-bought no-bake cheesecake better?
To boost store-bought no-bake cheesecake, try folding in whipped cream for added lightness or swirling in marshmallow fluff for extra flavor. You can also spoon it into homemade graham cracker cups like we used in these no bake S’mores cheesecake cups and top with toasted marshmallows and chocolate for a fun upgrade.
What are common no-bake cheesecake mistakes?
The most common mistakes include under-whipping the cream, skipping the chill time, and using warm ingredients. These can all result in a filling that’s too soft. Always whip cream to stiff peaks, use room temperature cream cheese (not too warm), and let the cheesecake chill for at least 4 hours.
Why is my no-bake cheesecake not firming up?
It likely comes down to either the whipped cream being too soft or not enough chill time. If the mixture looks runny when piping, refrigerate longer. You can also reduce the marshmallow fluff slightly if your filling is too loose.
Conclusion: Sweet, Simple, and Totally No Bake
No bake S’mores cheesecake cups are exactly what dessert should be—easy, fun, and bursting with familiar flavor. From the crisp graham cracker crust to the creamy marshmallow filling and gooey garnishes, each bite feels like a bite of summer. You don’t need to bake a thing. You just need a few bowls, a muffin pan, and a love for chilled sweets. Whether you’re making them for a cookout, birthday party, or midnight snack, they’ll disappear fast—just like every great no-bake treat should.
Craving sweet treats without the heat? Follow No Bake Treats on Facebook for quick, cool, and crowd-pleasing desserts made with zero oven time.
Explore the world of no-bake goodness on No Bake Treats on Pinterest—your go-to spot for effortless desserts and chill snack ideas!
